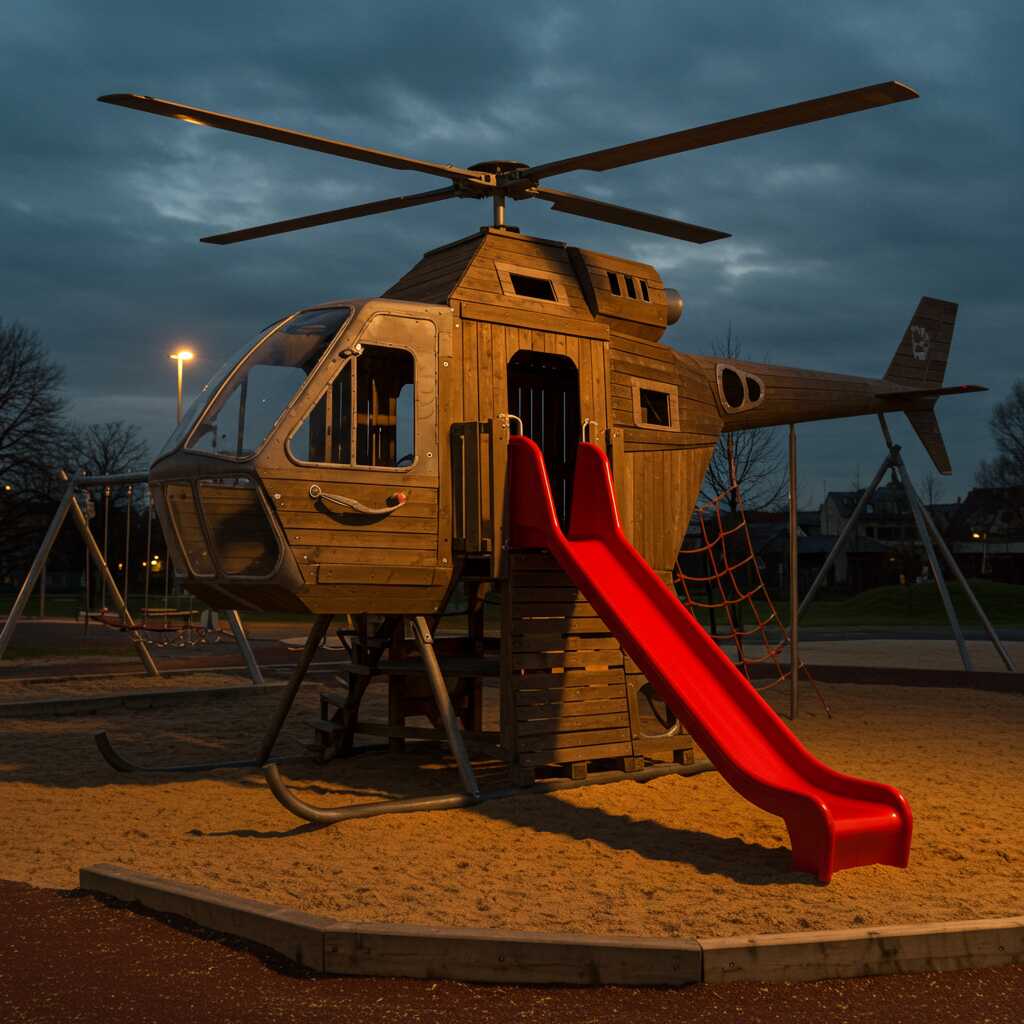
In the realm of imaginative play, children thrive on environments that spark their curiosity and fuel their sense of adventure. A helicopter shaped playground wooden pallet offers an exciting and unique opportunity to transform ordinary materials into a magical space for exploration. This DIY project is not just about building a structure; it’s about creating a world where young minds can soar—literally and figuratively. By repurposing wooden pallets, you can craft a helicopter-themed playground that combines sustainability, creativity, and fun in one cohesive design.
Wooden pallets are widely available, cost-effective, and incredibly versatile, making them the perfect raw material for this project. Whether you’re a parent looking to enhance your backyard or a community leader aiming to revamp a local park, this guide will walk you through every step of constructing a helicopter shaped playground wooden pallet . From planning and sourcing materials to assembling and decorating, we’ll delve into the details to ensure your project is both safe and inspiring. Let’s embark on this creative journey together and bring the skies down to earth for the little adventurers in your life.
Part 1: Planning Your Helicopter Shaped Playground Wooden Pallet
Step 1: Designing the Vision
Before diving into construction, it’s essential to plan the layout and design of your helicopter shaped playground wooden pallet . Start by sketching a rough blueprint. Consider the key features of a helicopter: the cockpit, fuselage (main body), rotor blades, and tail. Each of these elements can be represented using wooden pallets in creative ways. For instance, the cockpit could be a small enclosed area with windows, while the rotor blades might extend outward from the central structure.
Think about the size of the playground based on the available space and the age group it will cater to. Younger children may require simpler designs with fewer climbing elements, whereas older kids might enjoy more intricate features like slides or climbing walls. Incorporate safety considerations into your design, such as rounded edges and secure joints, to prevent accidents during playtime.
Step 2: Sourcing Materials
The primary material for this project is wooden pallets, which can often be sourced for free or at minimal cost from local businesses, warehouses, or online marketplaces. Ensure the pallets are clean, sturdy, and free from nails or splinters. You may also need additional supplies such as screws, brackets, sandpaper, paint, and sealant to complete the build.
For added functionality, consider including accessories like swings, ladders, or rope bridges. These can be constructed using wood planks, chains, or ropes. Don’t forget tools like saws, drills, hammers, and measuring tape to assemble everything efficiently. Having all materials ready beforehand will streamline the building process and help avoid delays.
Step 3: Choosing the Location
Selecting the right location is crucial for maximizing enjoyment and ensuring safety. The ideal spot should have enough open space around the structure to allow for movement without obstructions. It should also be level and firm to support the weight of the playground. If building outdoors, consider factors like sunlight exposure and drainage to protect the structure from weather damage over time.
Once you’ve finalized the design, gathered materials, and chosen a location, you’re ready to move on to the next phase: bringing your vision to life!
Part 2: Building Your Helicopter Shaped Playground Wooden Pallet
Step 4: Preparing the Pallets
Begin by preparing the wooden pallets for assembly. Use sandpaper to smooth out any rough surfaces and remove sharp edges that could pose hazards. Inspect each pallet carefully for loose nails or broken pieces, and repair or replace them as needed. This preparation ensures that the finished product is safe for children to use.
Next, decide how to disassemble or cut the pallets to fit your design. For example, you might need to cut some pallets into smaller sections to form the cockpit or rotor blades. A handsaw or circular saw can make precise cuts, but always wear protective gear such as goggles and gloves when handling power tools.
Step 5: Assembling the Main Structure
Start by constructing the fuselage—the main body of the helicopter. Arrange several pallets horizontally and vertically to create a sturdy frame. Secure the pallets together using screws or brackets, ensuring they are tightly fastened to prevent wobbling. Add vertical supports if necessary to reinforce the structure.
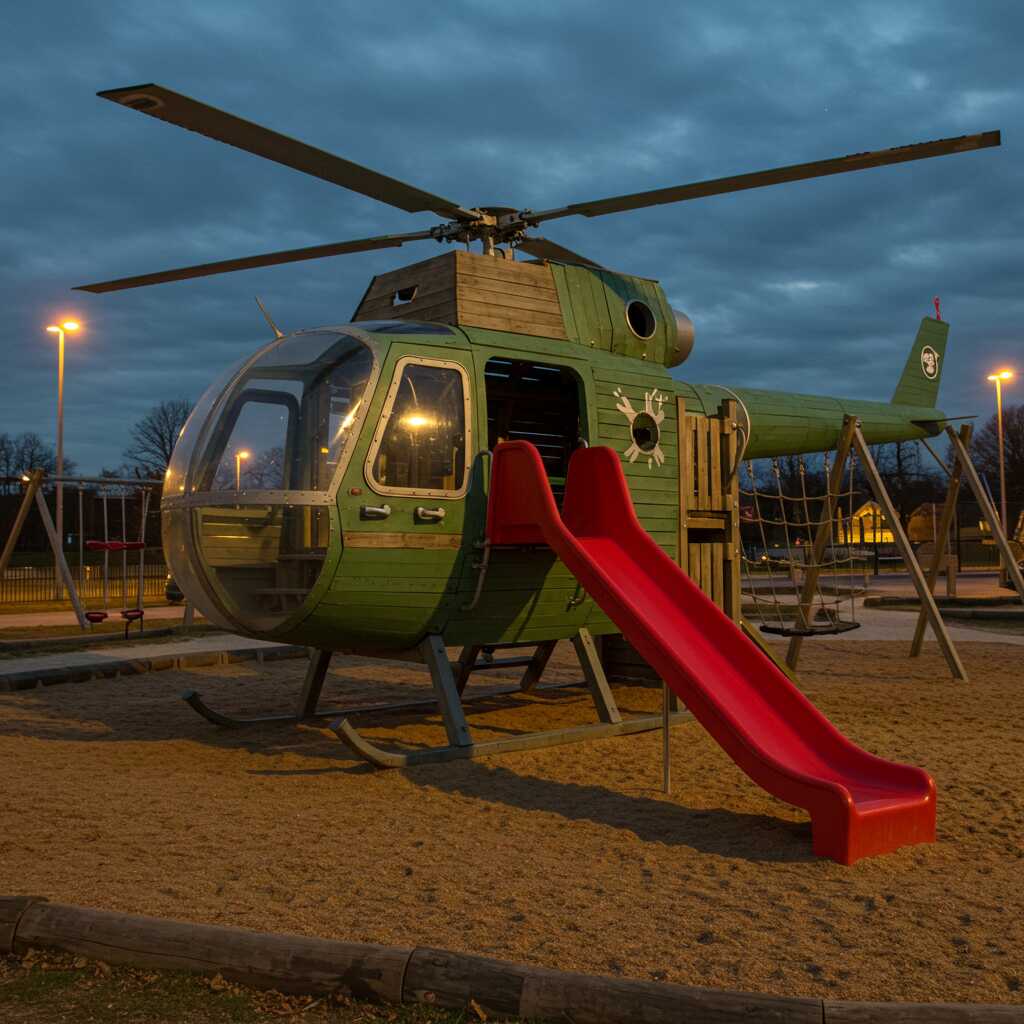
Once the fuselage is complete, attach the cockpit. This section can be made by stacking pallets to form a raised platform, then enclosing it partially with additional pallet boards to create “walls” with window cutouts. To mimic the rotor blades, attach long, narrow strips of pallet wood to a central hub above the fuselage. These blades can either remain stationary or be designed to spin with the help of bearings or hinges.
Step 6: Adding Functional Features
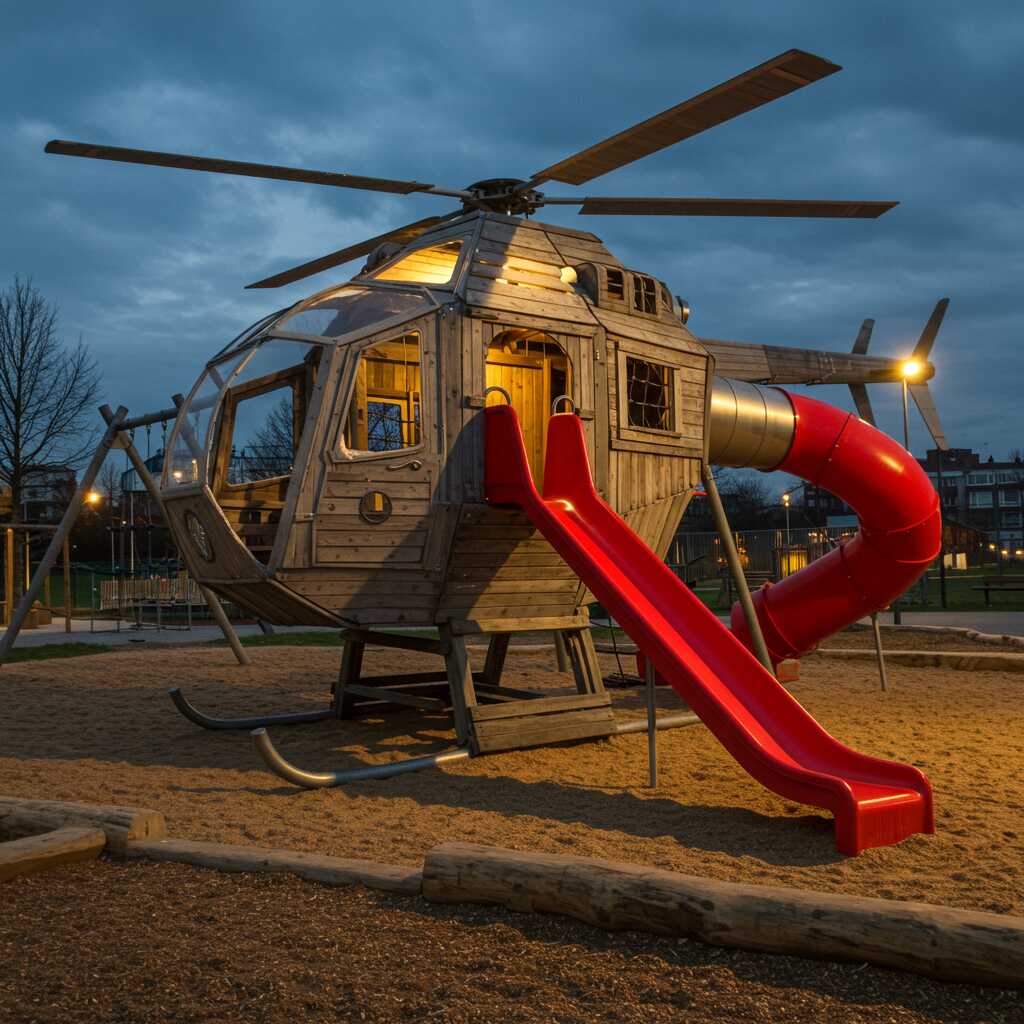
Enhance the playground’s appeal by incorporating interactive elements. Install a slide on one side of the fuselage for easy access, or add a climbing wall with grips made from rope or recycled tires. Rope ladders or netting can connect different parts of the structure, encouraging physical activity and coordination.
For a finishing touch, decorate the exterior of the helicopter shaped playground wooden pallet to resemble a real aircraft. Paint the fuselage in bright colors, add decals resembling windows or control panels, and use metallic spray paint to highlight details like propellers or exhaust vents. Be sure to use non-toxic, weather-resistant paint to ensure longevity and safety.
Part 3: Enhancing Safety and Sustainability
Step 7: Prioritizing Safety Measures
Safety is paramount when designing and building a playground. After completing the structure, conduct a thorough inspection to identify potential hazards. Check that all screws and bolts are flush with the surface, eliminating protruding edges that could cause injury. Reinforce weak points with extra bracing if needed.
Install soft ground coverings beneath the playground to cushion falls. Options include rubber mulch, sand, or pea gravel, all of which provide shock absorption. Additionally, supervise younger children during playtime to address any unforeseen risks promptly.
Step 8: Embracing Eco-Friendly Practices
One of the standout benefits of using wooden pallets is their sustainability. Repurposing discarded materials reduces waste and minimizes the environmental impact of your project. To further enhance eco-friendliness, opt for biodegradable paints and sealants, and incorporate natural elements like plants or flowers around the playground to blend seamlessly with the surroundings.
Consider involving children in the building process to teach them valuable lessons about recycling and resourcefulness. Not only does this foster teamwork and problem-solving skills, but it also instills a sense of pride and ownership in the final product.

Part 4: Customizing and Maintaining Your Helicopter Shaped Playground Wooden Pallet
Step 9: Personalizing the Design for Maximum Fun
Once the basic structure of your helicopter shaped playground wooden pallet is complete, it’s time to think about how to make it truly unique. Customization not only enhances the visual appeal but also ensures the playground reflects the personalities and interests of its users. Here are some ideas to take your project to the next level:
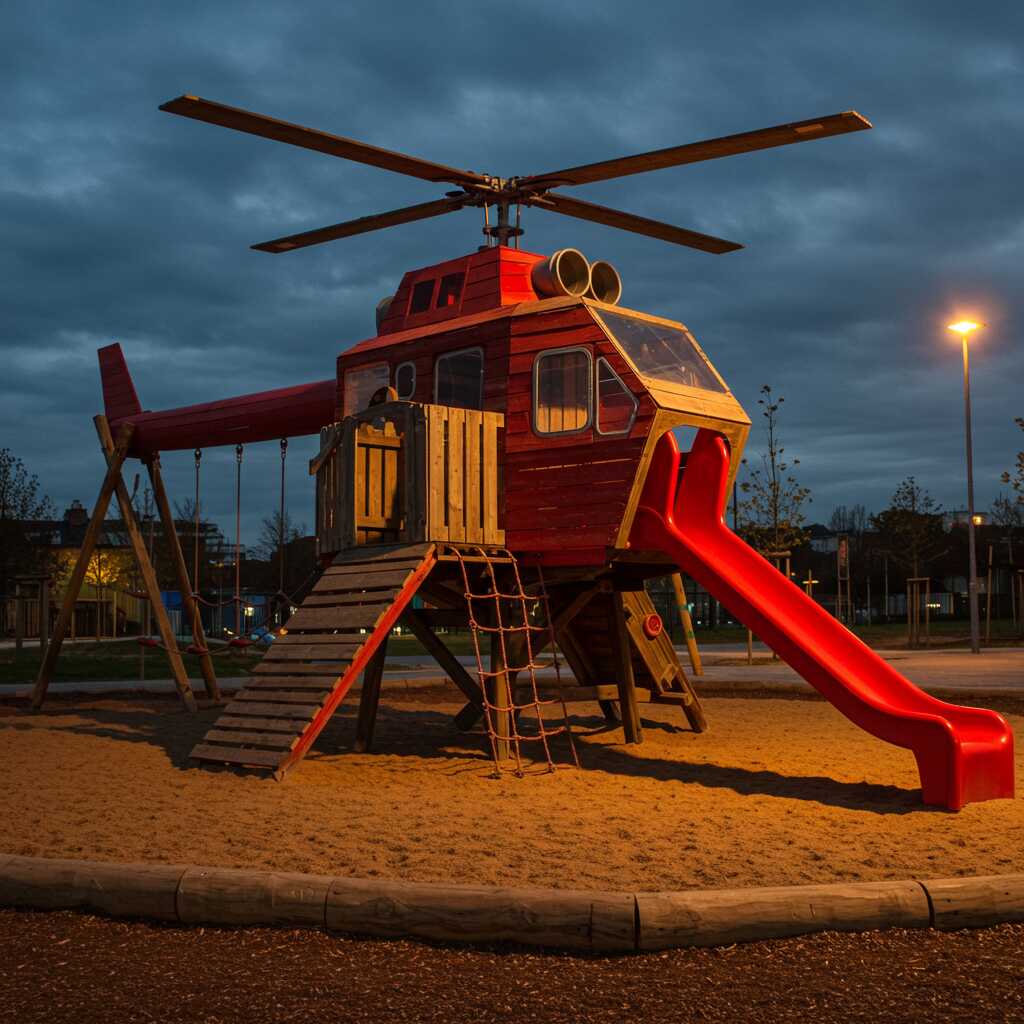
- Themed Decorations: Transform the helicopter into a futuristic aircraft, a rescue chopper, or even a whimsical flying machine inspired by cartoons. Use stencils or freehand painting techniques to add intricate details like propeller designs, cockpit controls, or even a faux radar screen.
- Interactive Elements: Incorporate movable parts that engage children’s curiosity. For instance, attach a steering wheel made from an old tire or wood disc to mimic a pilot’s control panel. Add knobs, levers, or buttons (crafted from leftover pallet wood) to create a sense of realism.
- Lighting Effects: If the playground will be used after sunset, consider adding solar-powered LED lights along the rotor blades or fuselage. These eco-friendly lights can illuminate the structure and give it a magical glow at night.
Custom touches don’t have to be complicated—they just need to spark joy and imagination. Even small additions, like colorful flags or wind chimes attached to the tail, can make the playground feel more dynamic and inviting.
Step 10: Seasonal Updates and Refreshes
A helicopter shaped playground wooden pallet isn’t a static installation—it can evolve over time to keep things fresh and exciting. Consider seasonal updates that align with holidays or themes throughout the year. For example:
- During spring, decorate the playground with flower garlands or painted butterflies to celebrate renewal.
- In winter, drape the structure with twinkling fairy lights or frosty white paint accents to evoke a snowy atmosphere.
- For Halloween, transform the helicopter into a spooky “ghost copter” with cobwebs, bats, and eerie sound effects created using simple DIY instruments like tin cans and strings.
These periodic refreshes not only maintain interest but also encourage ongoing engagement with the playground. They’re also a great way to involve kids in creative projects, fostering a sense of ownership and pride in their play space.
Step 11: Regular Maintenance for Longevity
To ensure your helicopter shaped playground wooden pallet remains safe and functional for years to come, regular maintenance is key. Wooden structures are susceptible to wear and tear, especially when exposed to outdoor elements. Follow these tips to prolong the life of your creation:
- Inspect Annually: Conduct a thorough inspection at least once a year to check for signs of damage, such as rotting wood, loose screws, or splintered surfaces. Address any issues immediately to prevent accidents.
- Reapply Sealant: Wood sealant protects against moisture, UV rays, and pests. Reapply a weatherproof sealant every six months to maintain the integrity of the pallets.
- Clean Regularly: Remove dirt, leaves, and debris from the playground area to prevent slipping hazards. A gentle scrub with mild soap and water can help keep the wood looking clean and vibrant.
- Repair Promptly: If you notice any structural weaknesses, reinforce them immediately. Replace damaged pallets or boards before they compromise the stability of the entire structure.
By staying proactive with maintenance, you’ll ensure that your playground remains a safe and enjoyable environment for children to explore.
Conclusion: Soaring High with Your Helicopter Shaped Playground Wooden Pallet
Building a helicopter shaped playground wooden pallet is more than just a DIY project—it’s an opportunity to create lasting memories and inspire young imaginations. By transforming simple wooden pallets into a vibrant, functional playground, you’re providing children with a space where they can explore, learn, and dream big.
This endeavor showcases the power of creativity, resourcefulness, and sustainability. With careful planning, attention to detail, and a dash of artistic flair, you can construct a playground that stands out as a testament to innovation and fun. Whether it becomes a backyard centerpiece or a community landmark, your helicopter-shaped creation will undoubtedly leave a lasting impression on everyone who encounters it.
So gather your tools, roll up your sleeves, and let your imagination take flight. The sky’s the limit when it comes to crafting a helicopter shaped playground wooden pallet that captures the hearts of adventurers young and old alike. Happy building!